Perfect texture comes from accuracy how to count seed stitch rows correctly by using bumps, lifelines, and row counters for flawless knitting results.
How to Count Seed Stitch Rows
If you love textured knitting, the seed stitch pattern is a timeless favourite.
Its neat knit-purl alternation creates a soft, bumpy surface that looks the same on both sides.
But because it’s reversible, many knitters find it hard to count rows accurately.
Once you learn the right approach, counting seed stitch rows becomes quick and reliable.
Quick Guide Table for Counting Seed Stitch Rows
| Feature | Details & Tips |
|---|---|
| Pattern repeat | 2 rows – one starts with knit, the next with purl |
| Texture type | Bumpy and reversible, so normal row lines are harder to see |
| Best counting clue | Each bump (seed) equals 2 rows |
| Helpful tools | Lifeline, row counter, stitch markers |
| Common mistake | Counting across instead of up a column |
| Simple solution | Use markers or a digital row counter for longer projects |
What Is Seed Stitch?
- The seed stitch is a classic knitting texture created by alternating knit 1, purl 1 on one row and purl 1, knit 1 on the next.
- This pattern produces tiny bumps or seeds that give the fabric its signature texture.
- The fabric is reversible, so both sides look identical, making it a favourite for scarves, blankets, and dishcloths.
- Because of this design, traditional row ridges are hidden, which makes it harder to recognize each line when learning how to count seed stitch rows accurately.
- Each bump works as a visual marker, helping knitters practice how to count seed stitch rows correctly while keeping the pattern even and balanced.
Why Counting Rows in Seed Stitch Is Difficult
- In seed stitch knitting, the knit-purl alternation hides clear row lines, making it hard for beginners to know how to count seed stitch rows correctly.
- When working flat knitting versus in-the-round, the direction changes can easily confuse the pattern and affect how to count seed stitch rows accurately.
- Stretching or blocking the knitted fabric often makes rows look uneven, which adds another challenge when learning how to count seed stitch rows properly.
- Without a consistent system, it’s easy to miscount or repeat rows in your seed stitch knitting project.
- Using structured counting methods helps remove guesswork, ensuring your seed stitch row count stays precise and consistent throughout your project.
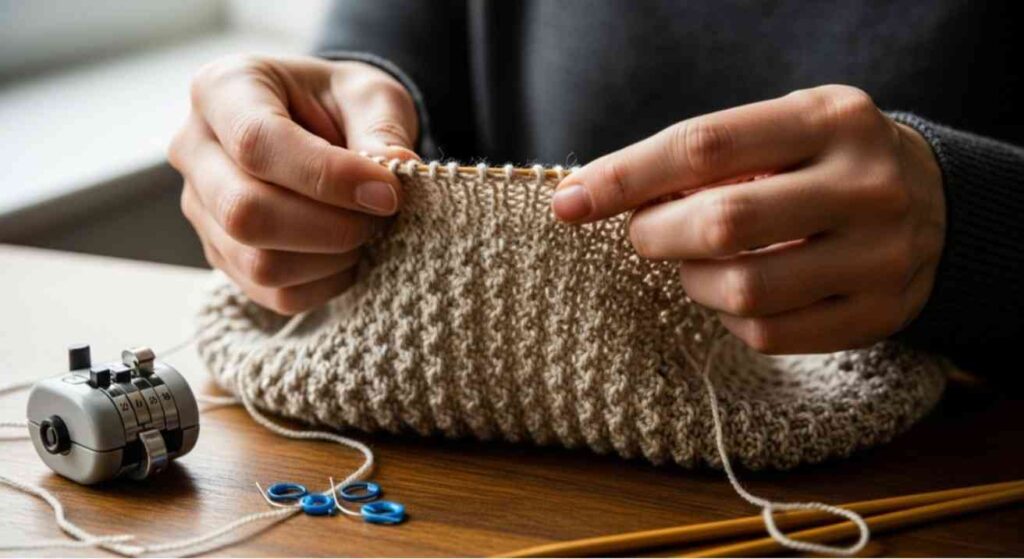
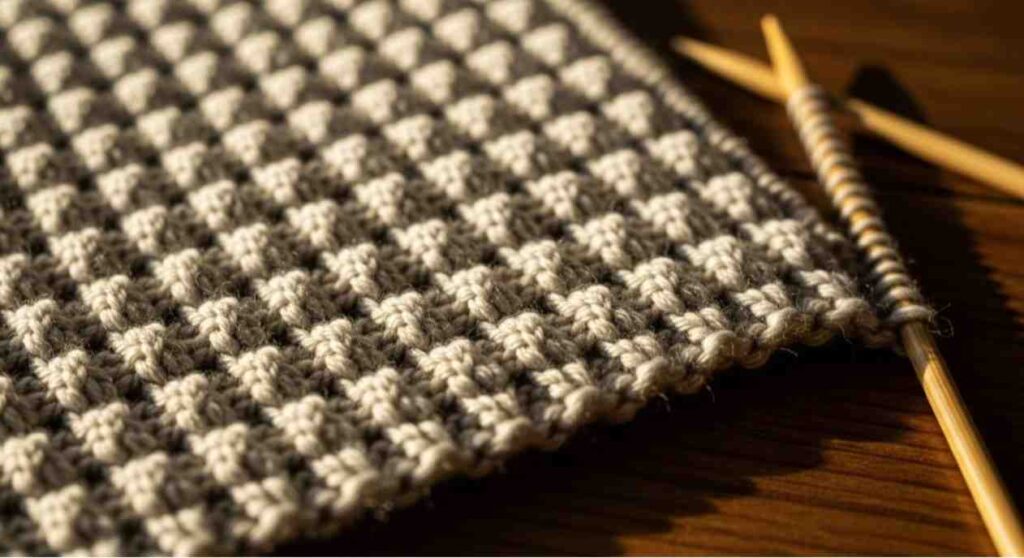
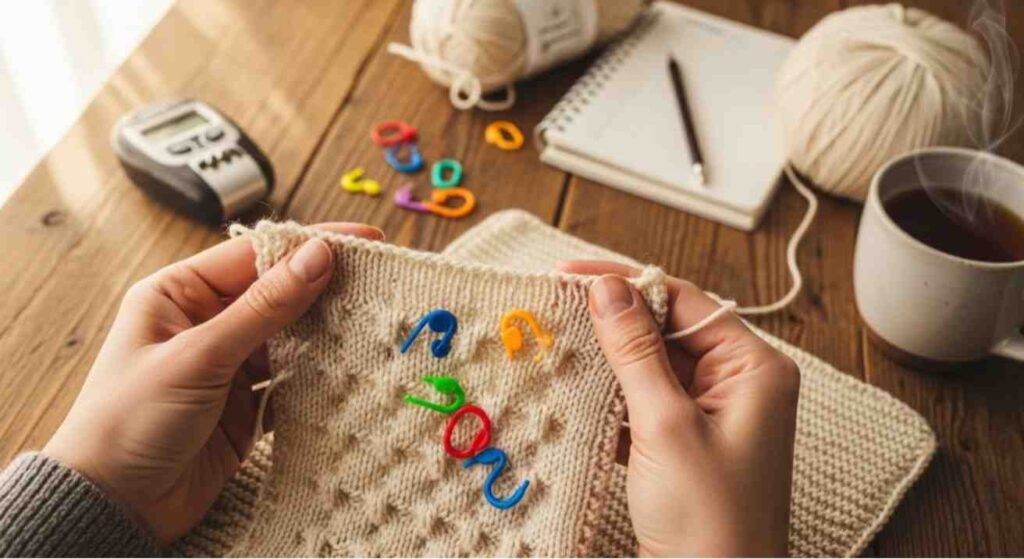
Method 1: Counting the Bumps (Visual Method)
This is the easiest and most popular way to count. Each bump equals two rows one knit and one purl.
Steps:
- Choose a vertical column of bumps from the bottom upward.
- Count each bump carefully along the same column.
- Multiply the total by 2 to get your full row count.
- Use stitch markers every 10 bumps to stay organized.
- Gently stretch the fabric to make bumps more visible.
Why it works:
- No tools required just your eyes and attention.
- Works perfectly for small projects like scarves or dishcloths.
- Helps beginners understand knitting rows visually without extra gadgets.
Always cross-check your count with the pattern’s row gauge to ensure accuracy.
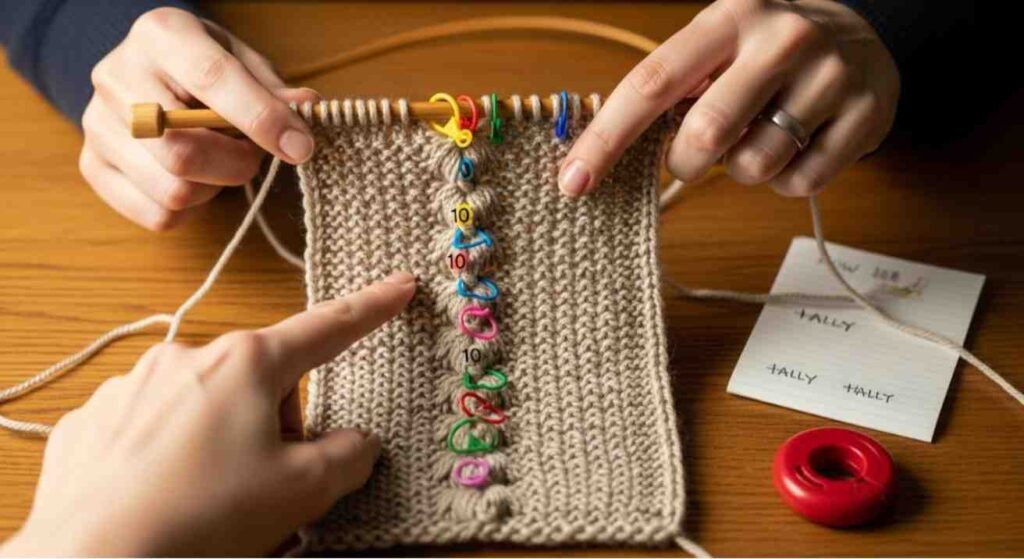
Method 2: Using a Lifeline or Stitch Markers
For larger projects, a lifeline in knitting keeps your counting precise.
Steps:
- Insert a contrasting yarn through one complete row.
- Knit normally above that line.
- When you need to count, start from the lifeline and move upward.
- Add stitch markers every 10–20 rows for extra control.
- Keep notes in your knitting notebook or app.
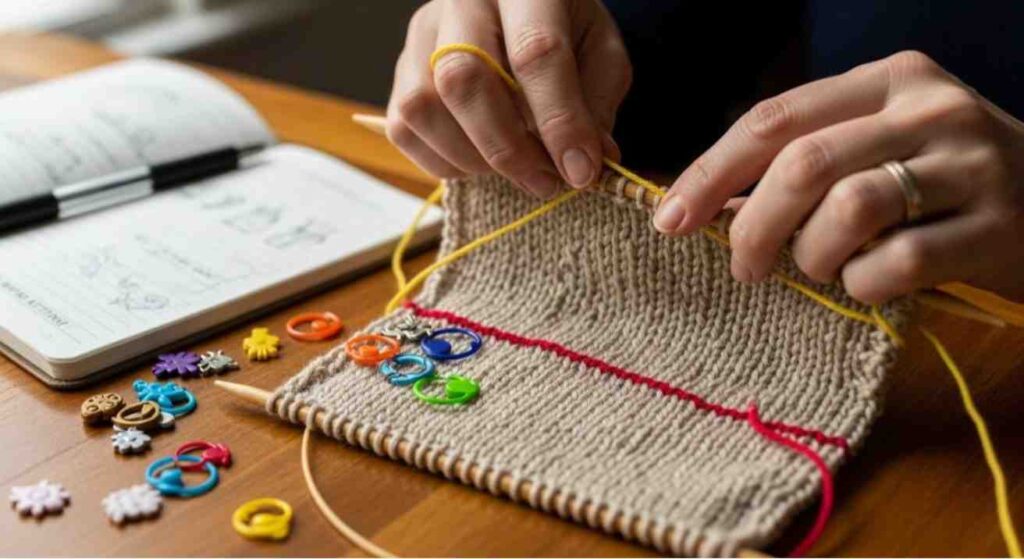
Why it helps:
- The lifeline marks your starting baseline.
- If you unravel or drop stitches, your lower section stays safe.
- Combining lifeline and bump counting gives the most accurate result.
Best for:
- Blankets, sweaters, or complex textures where precision matters most.
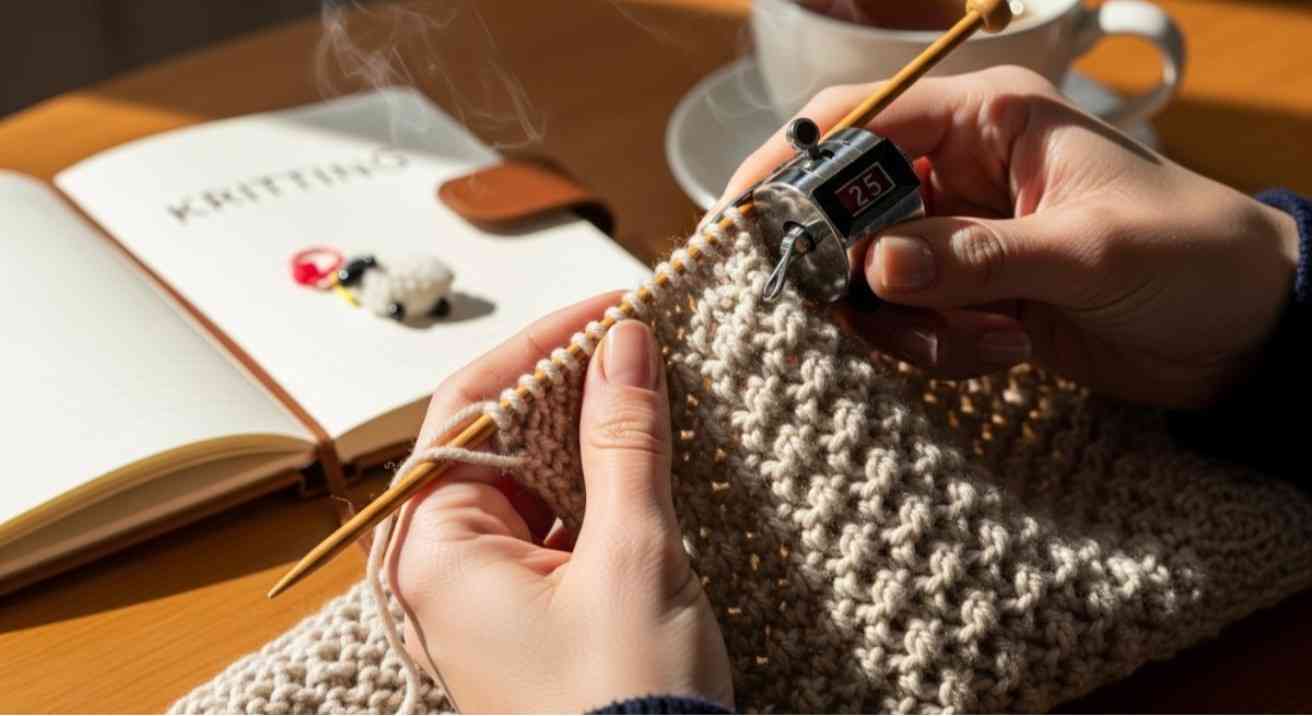
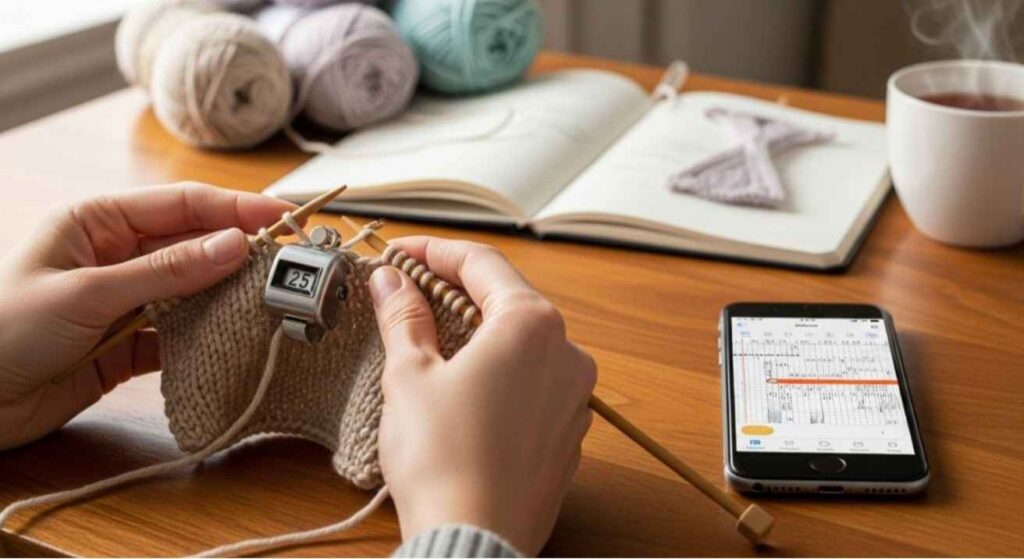
Method 3: Using a Row Counter or Digital Tracker
A row counter knitting tool or phone app ensures perfect tracking with minimal effort.
Steps:
- Attach a mechanical counter to your needle and click after each row.
- Or use a digital app to log rows as you knit.
- Reset after each pattern repeat to stay aligned.
Advantages:
- No manual counting once the habit forms.
- Ideal for multitasking knitters who pause frequently.
- Prevents skipped or extra rows, saving time and effort.
Cross-verify the total occasionally using the bump method to ensure consistent results.
Common Mistakes to Avoid
- Counting sideways instead of vertically in a column.
- Double-counting bumps remember each equals two rows.
- Switching sides inconsistently always count from the same side.
- Skipping lifeline alignment, which leads to off counts.
- Uneven tension, making bumps appear unevenly spaced.
Simple fixes:
- Keep the piece flat and evenly stretched under good lighting.
- Use markers to separate counted rows.
- Maintain even tension to keep bump spacing uniform.
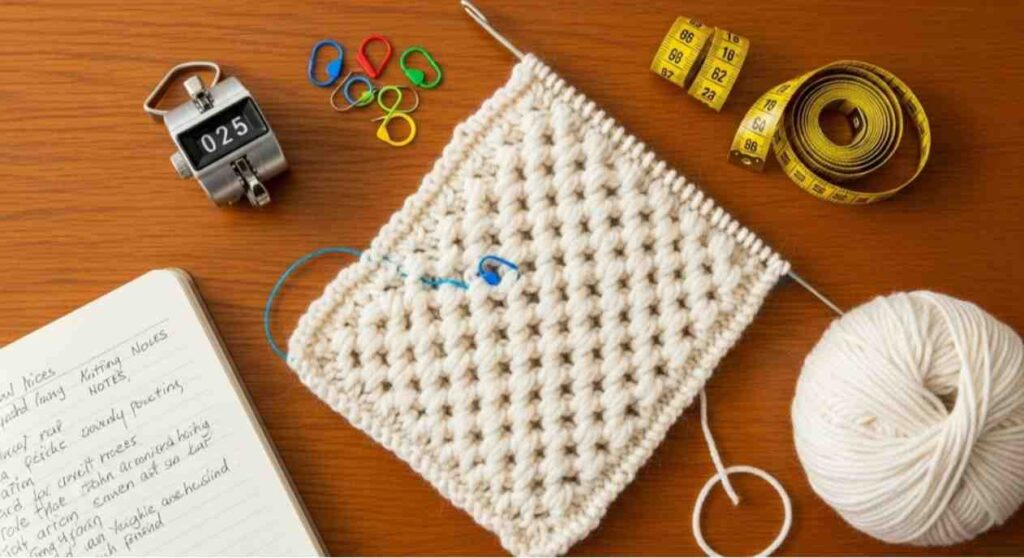
Tools That Simplify Seed Stitch Row Counting
| Tool Name | Main Purpose | When to Use |
|---|---|---|
| Row Counter | Tracks rows automatically | Large projects or multitasking |
| Lifeline Yarn | Creates a clear baseline | After cast-on or pattern repeats |
| Stitch Markers | Segments row groups | Every 10–20 rows |
| Knitting Notebook | Manual record of row counts | Adjusting or rewriting patterns |
| Measuring Tape | Checks gauge and progress | To verify total rows visually |
Combining two tools such as lifeline and row counter gives the best balance of accuracy and simplicity.
FAQs
Q 1: How many rows make one full seed stitch repeat?
A full repeat equals two rows one starting with a knit stitch and the next with a purl stitch.
Q 2: Can I count bumps from either side of the fabric?
Yes. The seed stitch is reversible, so count from whichever side you prefer just stay consistent.
Q 3: Why does my row count change after blocking?
Blocking stretches the fabric and may flatten bumps slightly, so it’s best to recount after the piece dries.
Q 4: Which method is easiest for beginners?
The bump-counting method is the simplest starting point, followed by adding a lifeline for longer projects.
Q 5: Why do my bumps look uneven or messy?
Uneven knitting tension or incorrect needle size can distort texture; maintain even tension for smoother results.