Changing your Minecraft server seed gives a new world with fresh terrain and biomes. Learn how to change Minecraft server seed safely and correctly.
How to Change Minecraft Server Seed
If your current Mine-craft world feels repetitive, learning how to change Minecraft server seed can completely refresh your gameplay.
The server seed determines how every hill, cave, and structure forms in your world.
Changing your Minecraft server seed is the easiest way to start over while keeping your server setup and player data intact.
This guide walks you through how to change Minecraft server seed safely, explained step-by-step for smooth and error-free setup.
How to Change Minecraft Server Seed: Step-by-Step Table
| Step | Action | Purpose |
|---|---|---|
| 1. Stop your server and back it up | Pause the server and save a full backup before editing files. | Prevents world corruption and data loss. |
| 2. Edit the server.properties file | Find and update the level-seed line with your new seed value. | Applies the custom world seed you want. |
| 3. Delete the existing world folder | Remove the current world folder to trigger new world generation. | Ensures Minecraft creates a new map using your new seed. |
| 4. Restart and verify changes | Relaunch your server and use /seed to confirm the new world. | Confirms that your new Minecraft seed is active. |
Why You Should Change Your Minecraft Server Seed
Knowing how to change Minecraft server seed is useful when you want your world to feel new without reinstalling the server. Players often do this to:
- Explore fresh landscapes and structures
- Fix generation errors or terrain bugs
- Start in a better biome or near resources
- Reignite interest for multiplayer gameplay
Each seed generates a completely different layout, meaning every world feels unique and full of surprises.
Back Up Before Making Any Changes
Before changing your Minecraft server seed, always create a complete backup. This backup protects player progress and world data.
- Save all server folders and files in a secure location.
- Label backups with clear dates for easier restoration.
- Never skip this step it’s essential before any major edit.
Backing up ensures you can restore everything if something doesn’t load correctly after changing the seed.
Step 1: Stop the Server
The first step in how to change Minecraft server seed is stopping your server completely. Editing live files while the server runs can lead to serious data issues.
- Use your hosting control panel or enter the stop command.
- Wait until it confirms that the server is fully offline.
Once the server stops, it’s safe to continue editing.

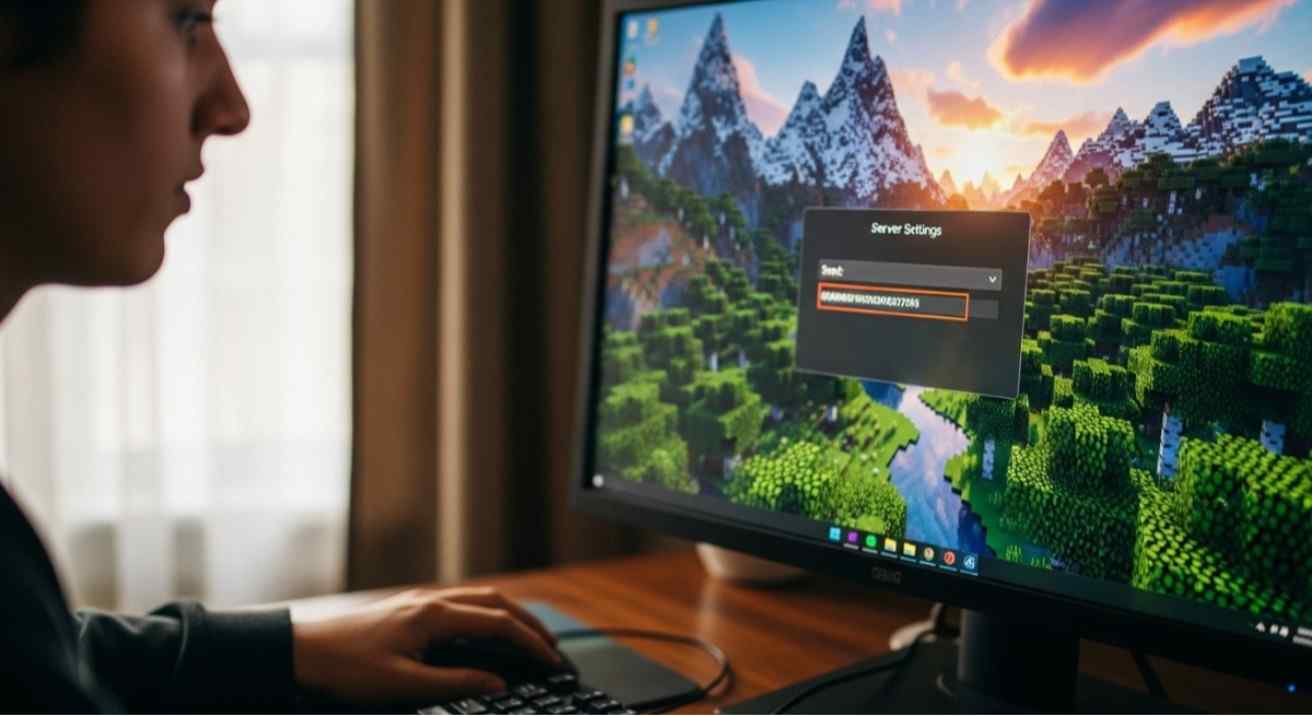
Step 2: Edit the Server Properties File
After the server is stopped:
- Open the server.properties file using your file manager.
- Look for the line that says level-seed=.
- Type your new seed code or phrase next to it.
- Save the file once done.
If you leave the seed blank, Minecraft automatically generates a random world. Editing this file is the main step in how to change Minecraft server seed effectively.
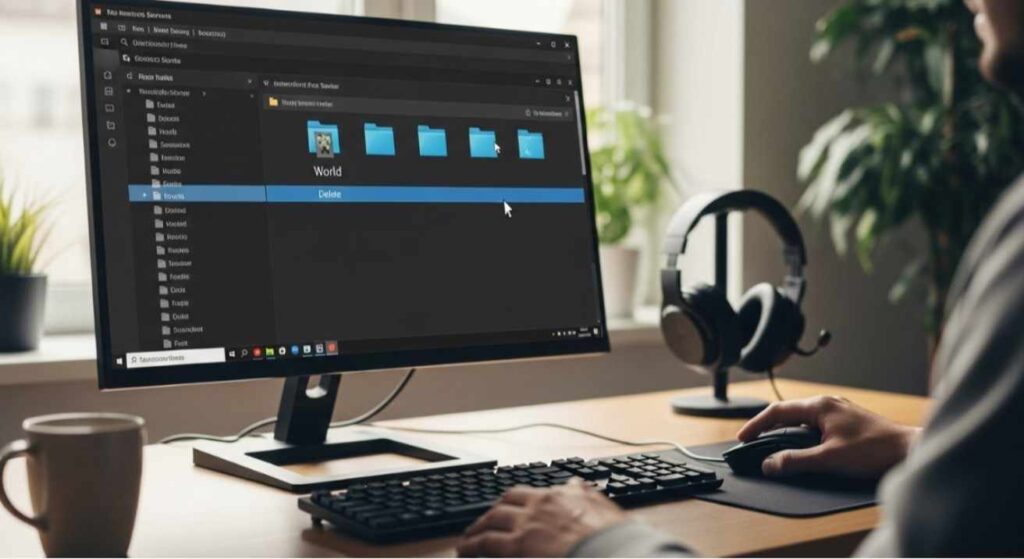
Step 3: Delete the Old World Folder
To apply the new seed properly:
- Locate the main world folder in your server directory.
- Rename it or delete it entirely.
- This forces Minecraft to create a new world based on your new seed.
Deleting the old world ensures no terrain overlaps or old generation data remain active.
Step 4: Restart and Verify the New Seed
Now that the setup is complete:
- Restart your server from the control panel.
- Wait for it to load a new world.
- Join the server and type /seed in chat.
The number displayed is your active world seed. If it matches your chosen one, you’ve successfully completed how to change Minecraft server seed without issues.
Choosing the Right Minecraft Seed
Your seed defines your gameplay experience. When deciding on one:
- Pick seeds with nearby villages or good resource locations.
- Choose biomes that match your preferred play style desert, jungle, plains, or forest.
- Avoid overly flat or ocean-heavy seeds unless you prefer building-focused gameplay.
- Search for community-tested seeds on sites like PlanetMinecraft or MinecraftSeeds.io.
A well-chosen seed makes every restart more enjoyable and keeps your players engaged.
Troubleshooting Common Seed Issues
If your world doesn’t generate correctly after you change the seed:
- Double-check spelling in the server.properties file.
- Ensure you deleted the old world folder before restarting.
- Use only numbers or plain text—avoid special symbols.
- Restart again if the new map doesn’t appear immediately.
Following these simple checks guarantees that your Minecraft server seed change works smoothly.
FAQs
Q: Can I change the Minecraft server seed without losing progress?
Only if you back up your data before deleting the old world. Without a backup, previous builds and player progress are lost.
Q: How often can I change my Minecraft server seed?
As often as you want. Each time you change it and delete the old world folder, a completely new map will generate.
Q: Does this process work for both Java and Bedrock editions?
Yes, both editions follow the same steps, though the interface may look slightly different.
Q: How can I check if my new seed is active?
Once the world loads, type /seed in the game chat to confirm your new world’s seed value.
Q: Can I use someone else’s Minecraft seed from the internet?
Yes, you can copy any shared seed value and paste it into your properties file to generate the same world.