Maximize seed growth and spacing with precise DIY methods. How to Make Seed Tape ensures healthy seedlings and effortless garden rows.
How to Make Seed Tape
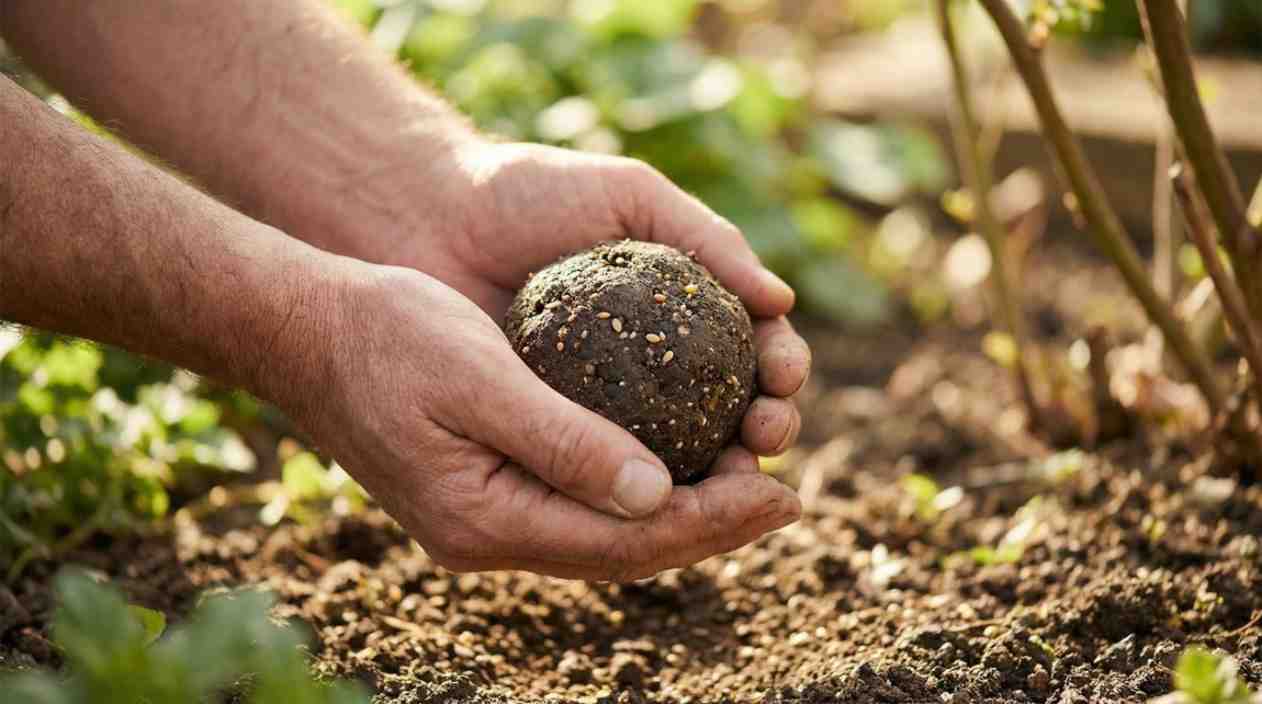
Seed tape simplifies gardening by keeping seeds evenly spaced. It reduces thinning and boosts germination. Making your own tape at home is easy and efficient. Using simple materials, you can control spacing, seed type, and planting depth. This guide explains how to make seed tape step by step, so even beginners can create neat, productive garden rows.
Benefits of Using Seed Tape
| Benefit | Explanation |
|---|---|
| Even Spacing | Seeds grow with consistent gaps, reducing overcrowding. |
| Higher Germination | Proper placement increases sprouting success. |
| Saves Seeds | Less waste compared to scattering or hand planting. |
| Easy Planting | Tape can be directly placed in soil for neat rows. |
Materials Needed for DIY Seed Tape
- Biodegradable paper (toilet paper or paper towel)
- Seeds suitable for seed tape (small seeds like lettuce, carrots, radish)
- Flour paste adhesive (1 part flour + 1 part water)
- Ruler or measuring tool for spacing
- Pencil or marker to mark seed positions
- Scissors for cutting strips
- Tray or plate for drying the tape
Tips:
- Use lightweight paper that easily decomposes in soil.
- Mark spacing accurately to prevent overcrowding.
- Flour paste holds seeds firmly without damaging them.
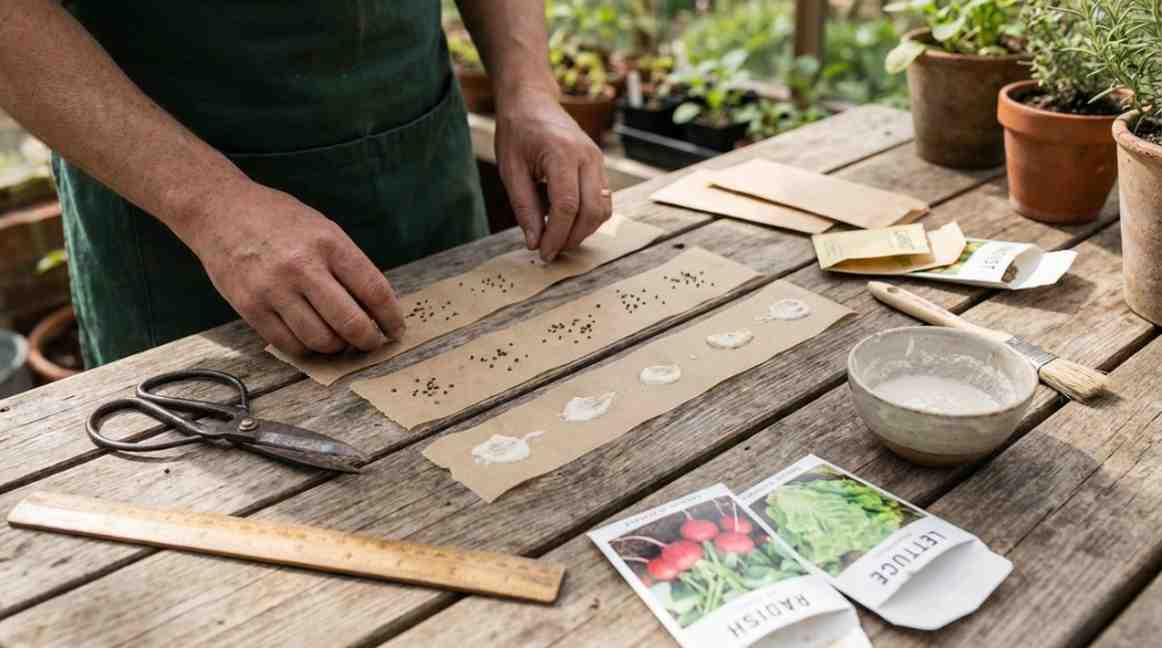
Step-by-Step Instructions to Make Seed Tape
Following these instructions will show you exactly how to make seed tape that maximizes germination and spacing.
Step 1: Cut Paper Strips
- Cut strips 1–2 inches wide.
- Make them long enough for your garden row.
- Ensure smooth edges to prevent tearing when planting.
Step 2: Prepare Flour Paste
- Mix equal parts flour and water until smooth.
- Paste should be slightly thick to hold seeds in place.
- Avoid overly runny paste, as seeds may slide off.
Step 3: Mark Seed Positions
- Use a ruler or measuring tool to mark spacing based on seed packet instructions.
- Typical spacing:
- Lettuce: 1 inch
- Carrots: ¼–½ inch
- Radish: 1 inch
Step 4: Attach Seeds
- Dab a small amount of paste at each marked spot.
- Place 1–2 seeds per dot.
- Lightly press seeds to ensure adhesion without damage.
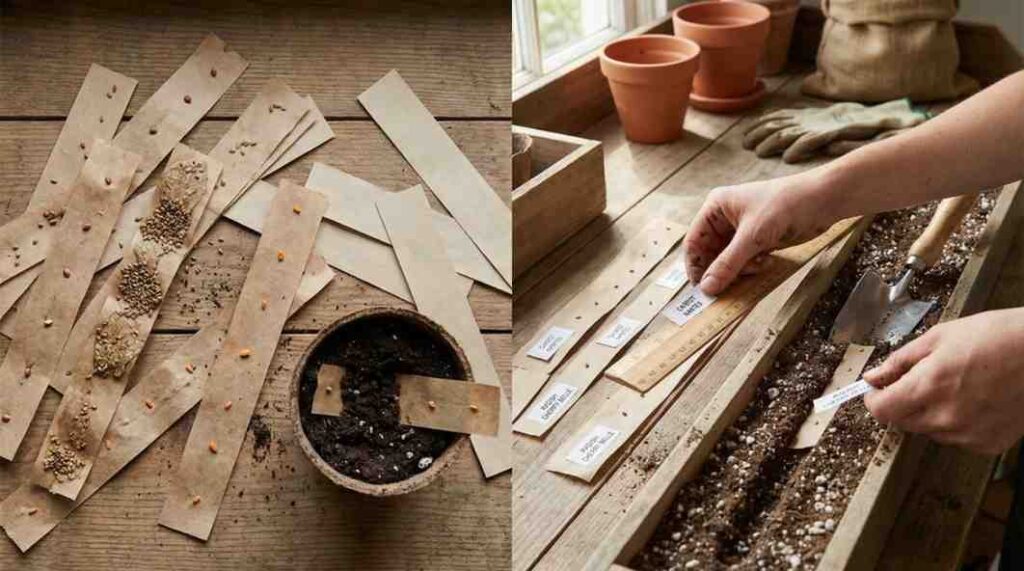
Step 5: Fold or Cover Paper
- Fold strip over seeds or place another strip on top.
- Ensure seeds are secure but not compacted.
- This protects seeds during drying and handling.
Step 6: Dry the Seed Tape
- Lay strips on a tray or plate in a dry, cool area.
- Allow 24–48 hours for complete drying.
- Ensure tape is firm but not brittle.
Step 7: Store or Plant
- Store dry tape in airtight container until ready to plant.
- Or directly plant tape in soil following recommended planting depth.
Recommended Seed Spacing for Seed Tape
| Seed Type | Spacing on Tape | Depth in Soil |
|---|---|---|
| Lettuce | 1 inch | ¼ inch |
| Carrots | ¼–½ inch | ¼–½ inch |
| Radish | 1 inch | ½ inch |
| Spinach | 1 inch | ¼ inch |
Tips for Correct Seed Spacing and Labeling
Proper labeling and measurement are key steps in how to make seed tape effectively for your garden.
- Label each tape strip to avoid confusion between seed types.
- Check spacing before applying paste to avoid overcrowding.
- Mark planting rows in the garden for easy alignment.
- Use LSI keywords: pre-spaced seed rows, spacing seeds evenly in row.

Storing Seed Tape Before Planting
- Keep tape dry and cool in an airtight container.
- Avoid moisture to prevent premature germination.
- LSI keywords: seed tape storage tips, germination rate improvement.
- Tape can be stored up to 1–2 weeks safely.
Planting Seed Tape in Your Garden
After you learn how to make seed tape, placing it in your garden rows correctly ensures healthy seedlings.
- Prepare a shallow furrow in garden soil.
- Lay tape flat in the trench, ensuring seeds contact soil.
- Cover lightly with soil (¼–½ inch).
- Water gently to avoid displacing seeds.
- Keep soil consistently moist for optimal germination.
- NLP keywords: how to plant seed tape in soil, DIY gardening planting hacks.
Best Seeds for Seed Tape (and What to Avoid)
Choosing the right seeds is part of how to make seed tape successfully for optimal growth.
- Works best for small, thin seeds: lettuce, carrots, radish, spinach.
- Avoid large seeds: beans, corn they may not adhere well.
- Use secondary keywords: seed tape for vegetable garden, best seeds for seed tape.
- Even spacing ensures healthy seedlings and reduces thinning needs.
Common Mistakes and How to Avoid Them
- Not spacing seeds correctly → leads to overcrowding.
- Using too much paste → seeds may clump.
- Burying tape too deep → poor germination.
- Forgetting labels → confusion between seed types.
- Overwatering → can displace seeds.
Correction tips:
- Measure spacing carefully.
- Use minimal paste.
- Plant at proper depth.
- Label strips clearly.
FAQs
Q1: What is seed tape and why should I use it?
Seed tape is a strip of paper with seeds attached at precise intervals. It ensures even spacing, reduces thinning, and improves germination.
Q2: Can I make seed tape at home easily?
Yes. Using paper towels or toilet paper, a flour paste, and small seeds, you can create DIY seed tape quickly.
Q3: How do I plant seed tape in my garden?
Place tape in a shallow trench, cover lightly with soil, and water gently. Keep soil moist for best results.
Q4: Which seeds work best for seed tape?
Small seeds like lettuce, carrots, radish, and spinach work well. Large seeds like beans are not suitable.
Q5: How do I store seed tape before planting?
Keep dry in an airtight container in a cool place. Avoid moisture until planting.