How to use peat pellets for seed starting with clear steps, proper watering, correct transplant timing, and expert FAQs for strong, healthy seedlings.
How to Use Peat Pellets for Seed Starting
How to use peat pellets for seed starting is a simple and reliable way to grow plants indoors without the mess of loose soil or uneven watering. Peat pellets expand with water to form neat growing plugs that help seeds germinate evenly and stay consistently moist. Gardeners use them for vegetables, herbs, and flowers because they reduce transplant shock and support early root growth. This guide walks through each step clearly, from soaking pellets to transplanting seedlings, so plants grow strong from the start.
Peat Pellets vs Traditional Seed Starting Methods
| Feature | Peat Pellets | Traditional Soil |
|---|---|---|
| Setup time | Very fast | Slower |
| Mess | Minimal | High |
| Water control | Easy | Moderate |
| Transplant shock | Low | Higher |
| Beginner friendly | Yes | Sometimes |
| Space required | Compact | More space |
Peat Pellets Explained: Benefits for Starting Seeds
Peat pellets also called peat moss pellets, seed starter pellets, or expandable peat discs are made from compressed peat moss wrapped in a thin biodegradable mesh. When water is added, the pellet expands into a small pot filled with growing medium.
Why gardeners prefer peat pellets
- Consistent moisture around seeds
- Less root disturbance during transplanting
- Cleaner indoor setup
- Ideal for beginners
- Biodegradable and space-saving
Using peat pellets for seed starting helps create uniform growing conditions, which is critical during early germination. This is why many indoor gardeners and greenhouse growers rely on peat pellet starter kits.
Materials Needed to Use Peat Pellets for Seed Starting
Before you begin learning how to use peat pellets for seed starting, gather the following supplies:
Essential items
- Peat pellets (Jiffy peat pellets or similar)
- Seed starting tray
- Clear humidity dome or lid
- Seeds (vegetables, herbs, or flowers)
- Lukewarm water
- Plant labels or marker
Optional but helpful
- Grow lights
- Spray bottle
- Heating mat
Having the right setup ensures proper hydration, temperature, and humidity three critical factors for successful seed germination.
How to Use Peat Pellets for Seed Starting (Step-by-Step Guide)
This is the core section where most gardeners struggle. Follow these steps carefully.
Step 1: Hydrate the Peat Pellets Correctly
Place dry peat pellets flat in your seed starting tray. Slowly pour lukewarm water into the tray not directly on top of the pellets.
Key points
- Pellets will expand 5–7 times their size
- Allow 10–15 minutes for full expansion
- Drain excess water after pellets are fully soaked
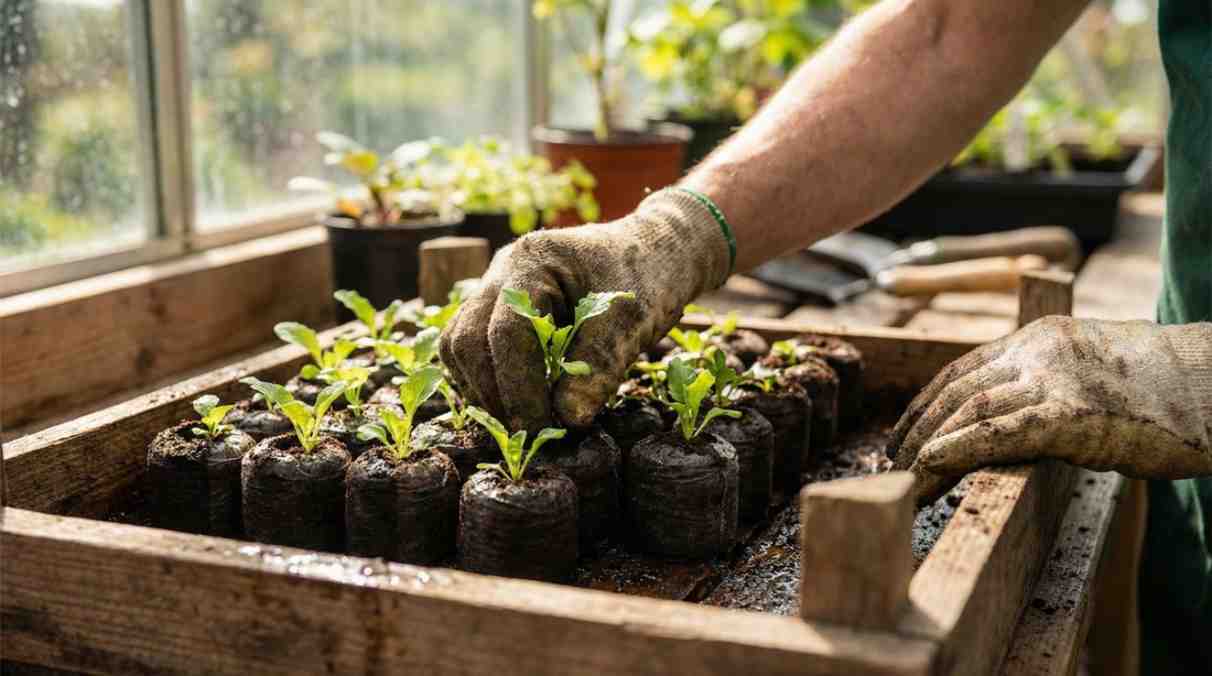
Step 2: Prepare Peat Pellets for Planting Seeds
Once expanded, gently loosen the top mesh. Create a shallow hole in the centre of each pellet using a pencil tip or finger.
Important tips
- Do not remove mesh completely
- Avoid compacting the peat
- Keep pellets upright
This step prepares the pellet for proper seed placement and airflow.
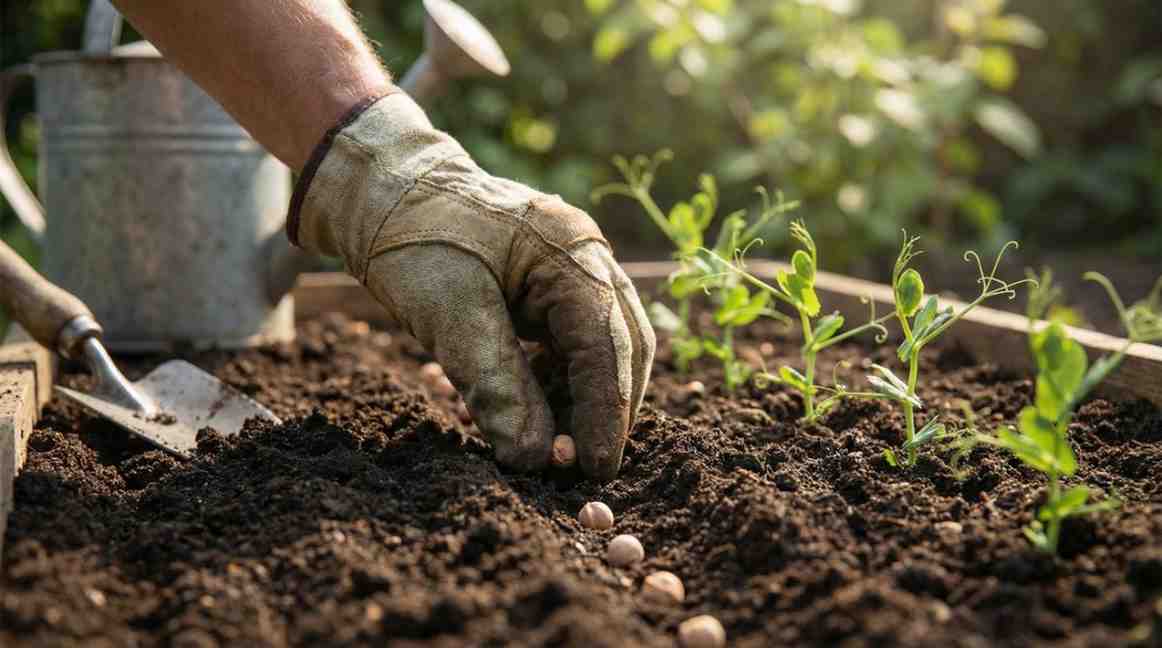
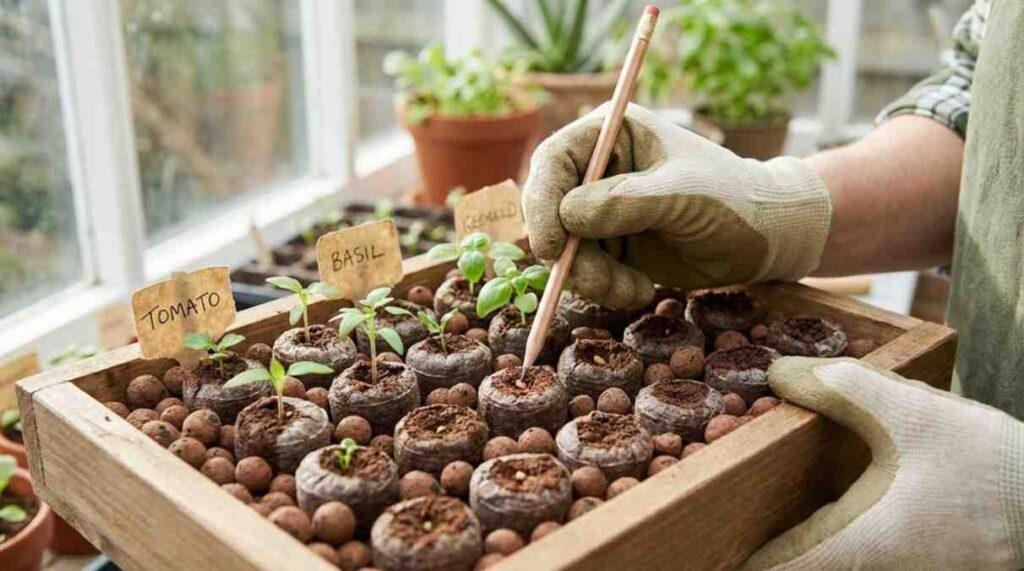
Step 3: Plant Seeds in Peat Pellets
Place seeds into the prepared hole. Most seeds require shallow planting.
General guideline
- Small seeds: surface sow or lightly cover
- Medium seeds: ¼ inch deep
- Large seeds: up to ½ inch deep
You may plant 1–2 seeds per pellet. If both sprout, thin later.
Step 4: Label, Cover, and Control Humidity
Label each pellet immediately. Cover the tray with a humidity dome to retain moisture.
Best conditions
- Temperature: 65–75°F (18–24°C)
- Bright location, indirect light
- Keep pellets consistently moist
Humidity control is essential when learning how to use peat pellets for seed starting, especially indoors.
Step 5: After Seeds Sprout Light and Water Care
Once seedlings emerge:
- Remove humidity dome
- Move tray to bright light or grow lights
- Water lightly from the bottom
Peat pellets dry out faster than soil, so check moisture daily.
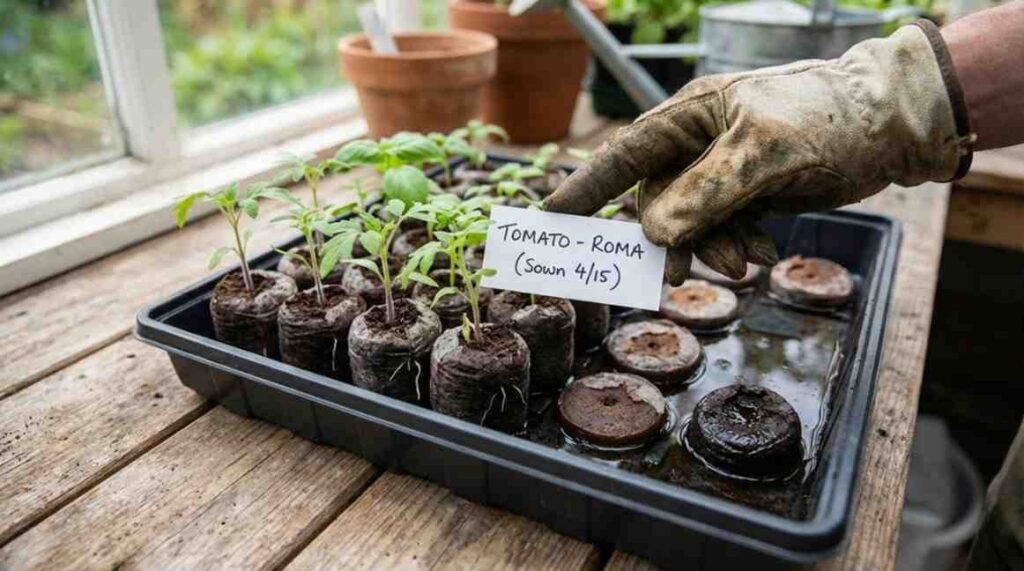
Step 6: When and How to Transplant Peat Pellets
Seedlings are ready to transplant when:
- Roots appear through mesh
- Plants have 2–3 true leaves
You can plant pellets directly into soil. The mesh is biodegradable, though some gardeners gently remove it.
Expert Tips for Successful Seed Starting with Peat Pellets
- Choose the right pellet size for your crop
- Start extra pellets as backups
- Thin seedlings early
- Avoid letting pellets dry out
- Use grow lights for strong stems
Peat pellets work especially well for vegetables, herbs, and flowers.
Common Mistakes When Using Peat Pellets for Seed Starting
Avoid these common errors:
- Not soaking pellets fully
- Overwatering after sprouting
- Planting seeds too deep
- Forgetting labels
- Delaying transplant too long
Correcting these mistakes improves success when learning how to use peat pellets for seed starting.
Peat Pellets vs Traditional Soil Seed Starting
Peat pellets are faster and cleaner, while soil allows more flexibility. For beginners, peat pellets simplify seed starting and reduce guesswork.
Best Plants for Peat Pellet Seed Starting
| Plant Type | Suitable | Notes |
|---|---|---|
| Tomatoes | Yes | Excellent results |
| Peppers | Yes | Strong roots |
| Herbs | Yes | Ideal for small seeds |
| Flowers | Yes | Uniform growth |
| Root crops | No | Direct sow preferred |
FAQs
Q 1: How much water do peat pellets need?
Peat pellets need enough water to fully expand. After expansion, drain any excess water and keep the pellets consistently moist, but never soggy.
Q 2: Can I plant peat pellets directly into soil?
Yes, peat pellets can be planted directly into the soil. The mesh around them is biodegradable and safe for roots.
Q 3: Do peat pellets dry out quickly?
Yes, peat pellets tend to dry out faster than regular soil, especially in indoor conditions. Checking moisture daily helps prevent them from drying out completely.
Q 4: How many seeds should be planted per peat pellet?
One seed per pellet is ideal. You can plant two seeds as a backup, but if both sprout, one should be removed later.
Q 5: Are peat pellets good for beginners?
Yes, peat pellets are an excellent option for beginners because they reduce mess and make the seed-starting process much simpler.